How to Refinish Old Bathroom Vanities
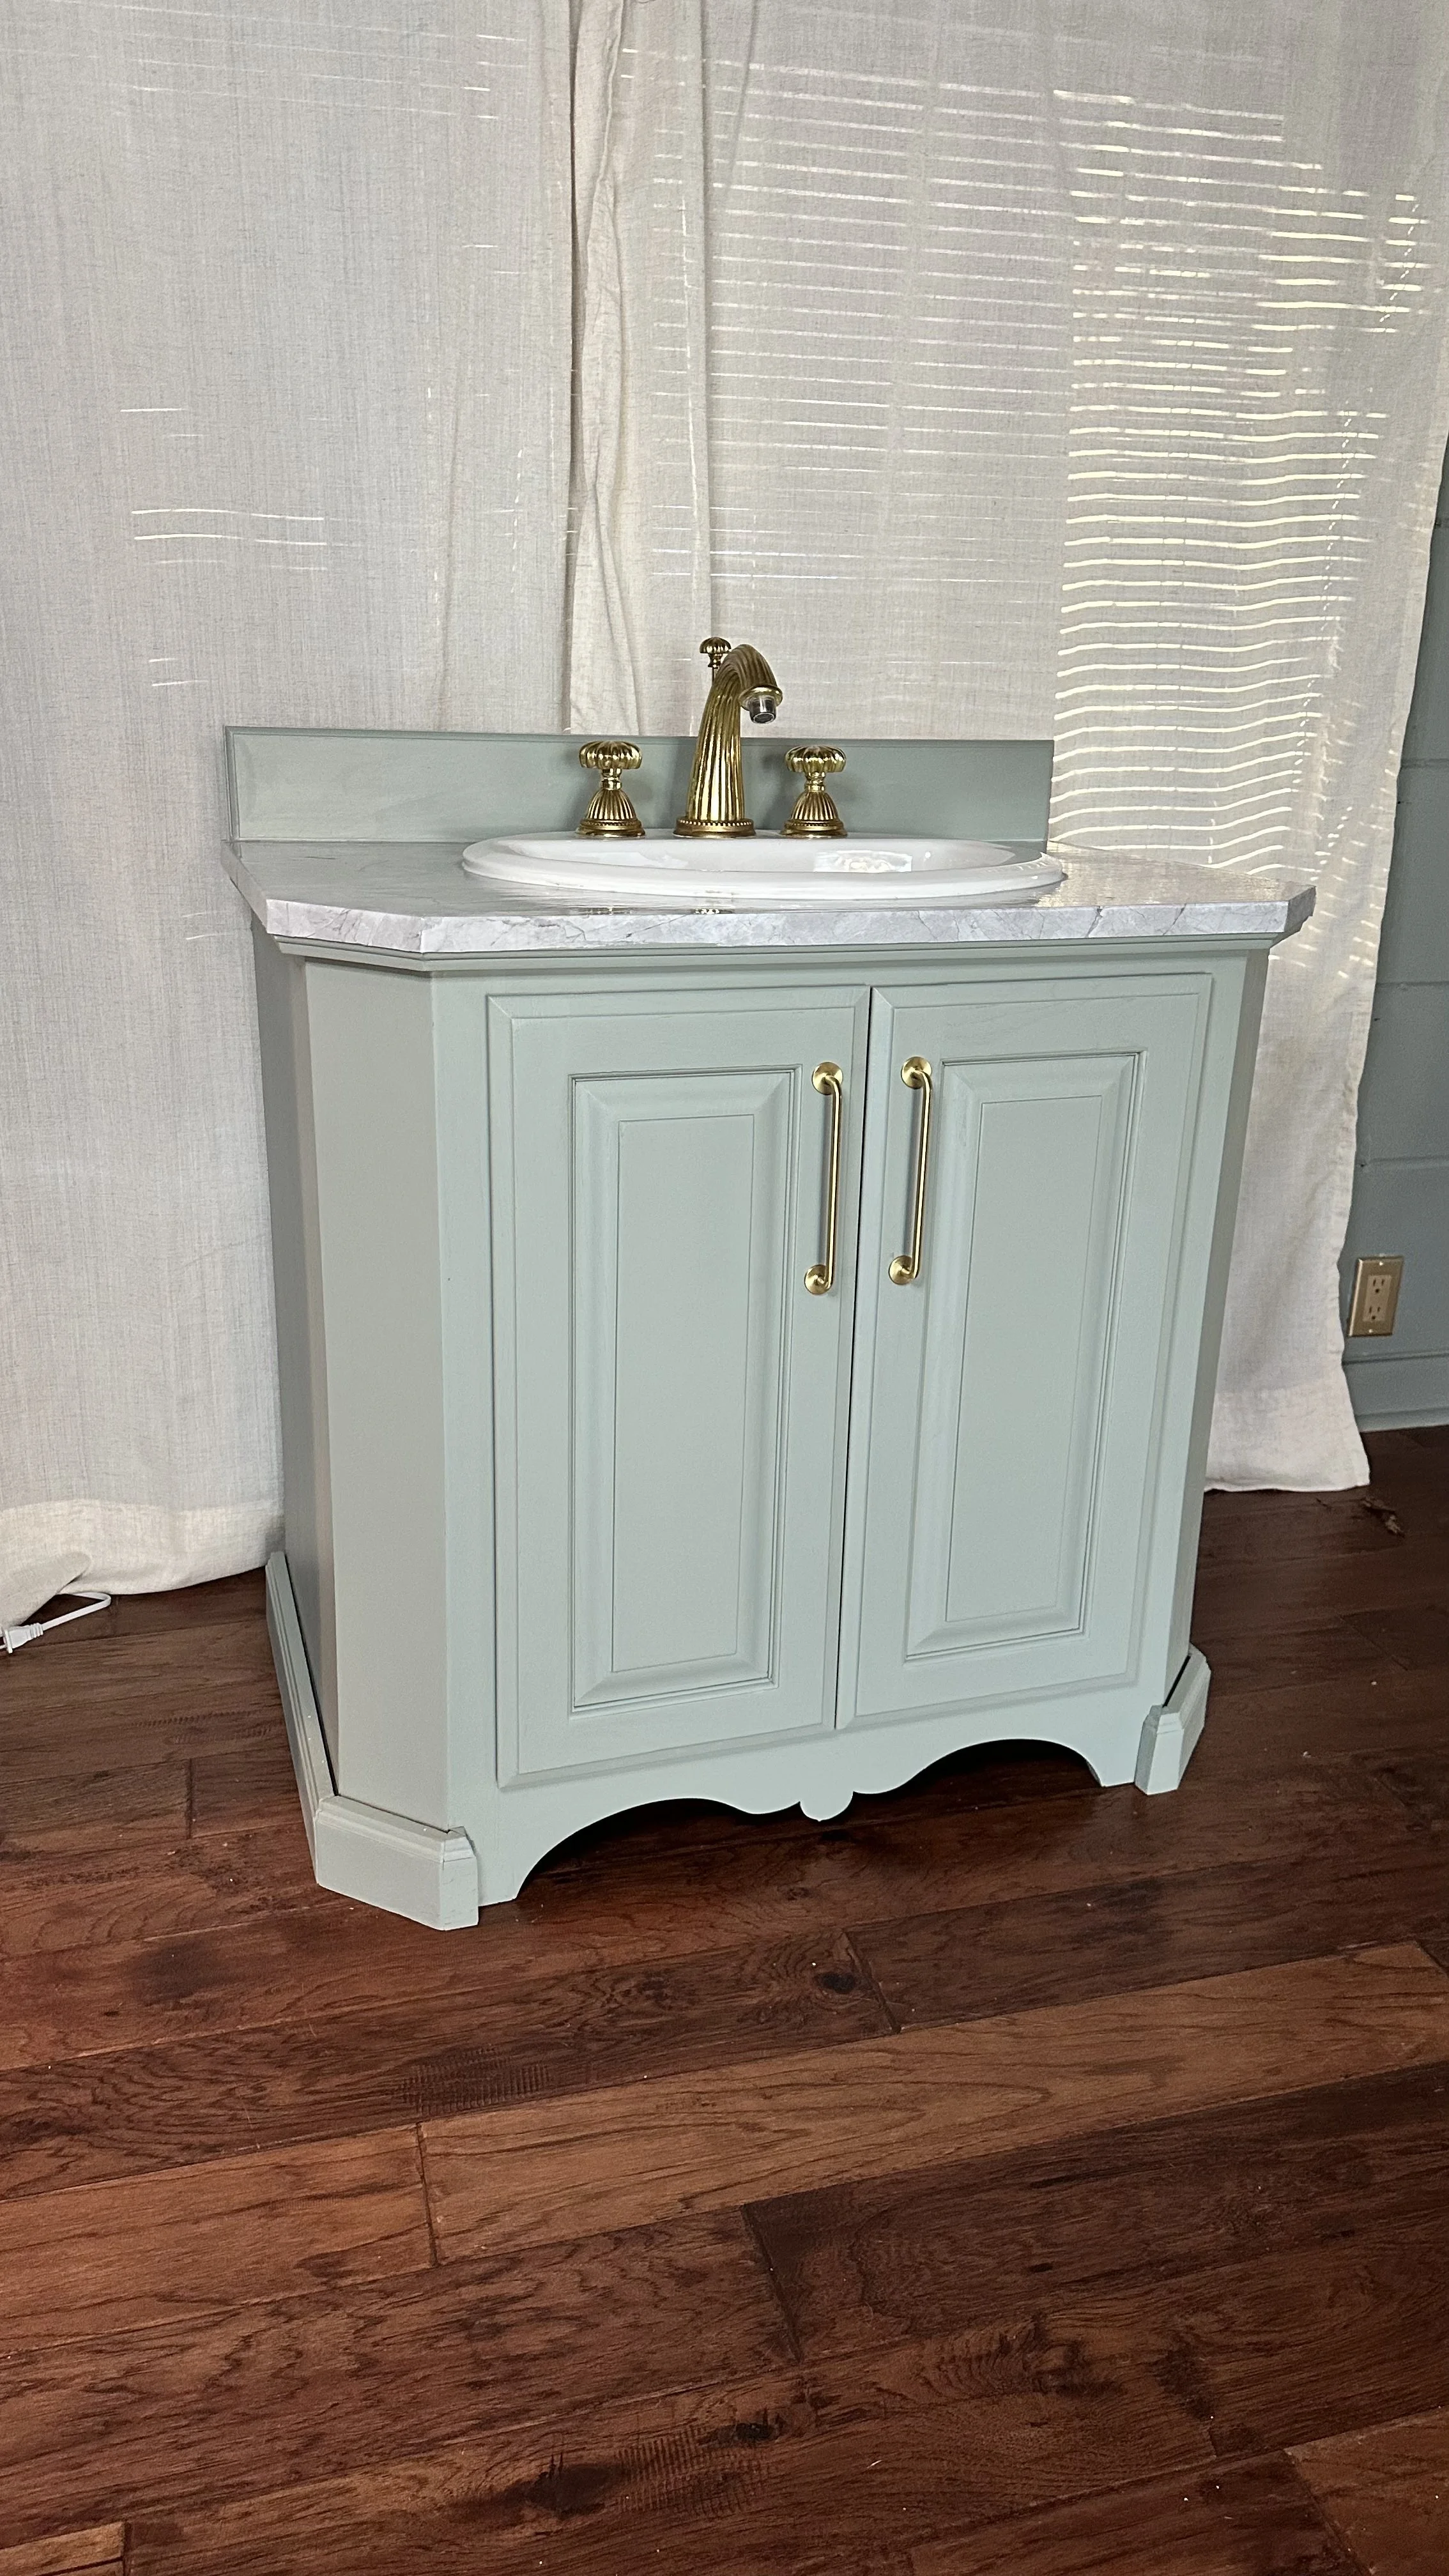
I recently saw this old vanity and sink (with vintage hardware!!) in the trash on the side of the road. The homeowner must have renovated and decided to upgrade vanities. I saw SO MUCH potential the second I spotted it. However, I knew it may be a bumpy journey getting it to look as pretty as it deserved. Here’s how I transformed the vanity I found in the trash into a beautiful piece for any bathroom. I am an Amazon affiliate and this blog contains affiliate links, so I may earn a small commission if you choose to purchase.
Step 1. Find your vanity
Here’s a blog all about the different places I find furniture— including in the trash (where I found this one). It can be hard to find an affordable sink OR vanity. I got very lucky finding both the sink and the vanity at the same time. You may be able to work some magic on the vanity you already have in your home. Paint, new hardware, and new faucets can go a long way.
Step 2. Sand and clean
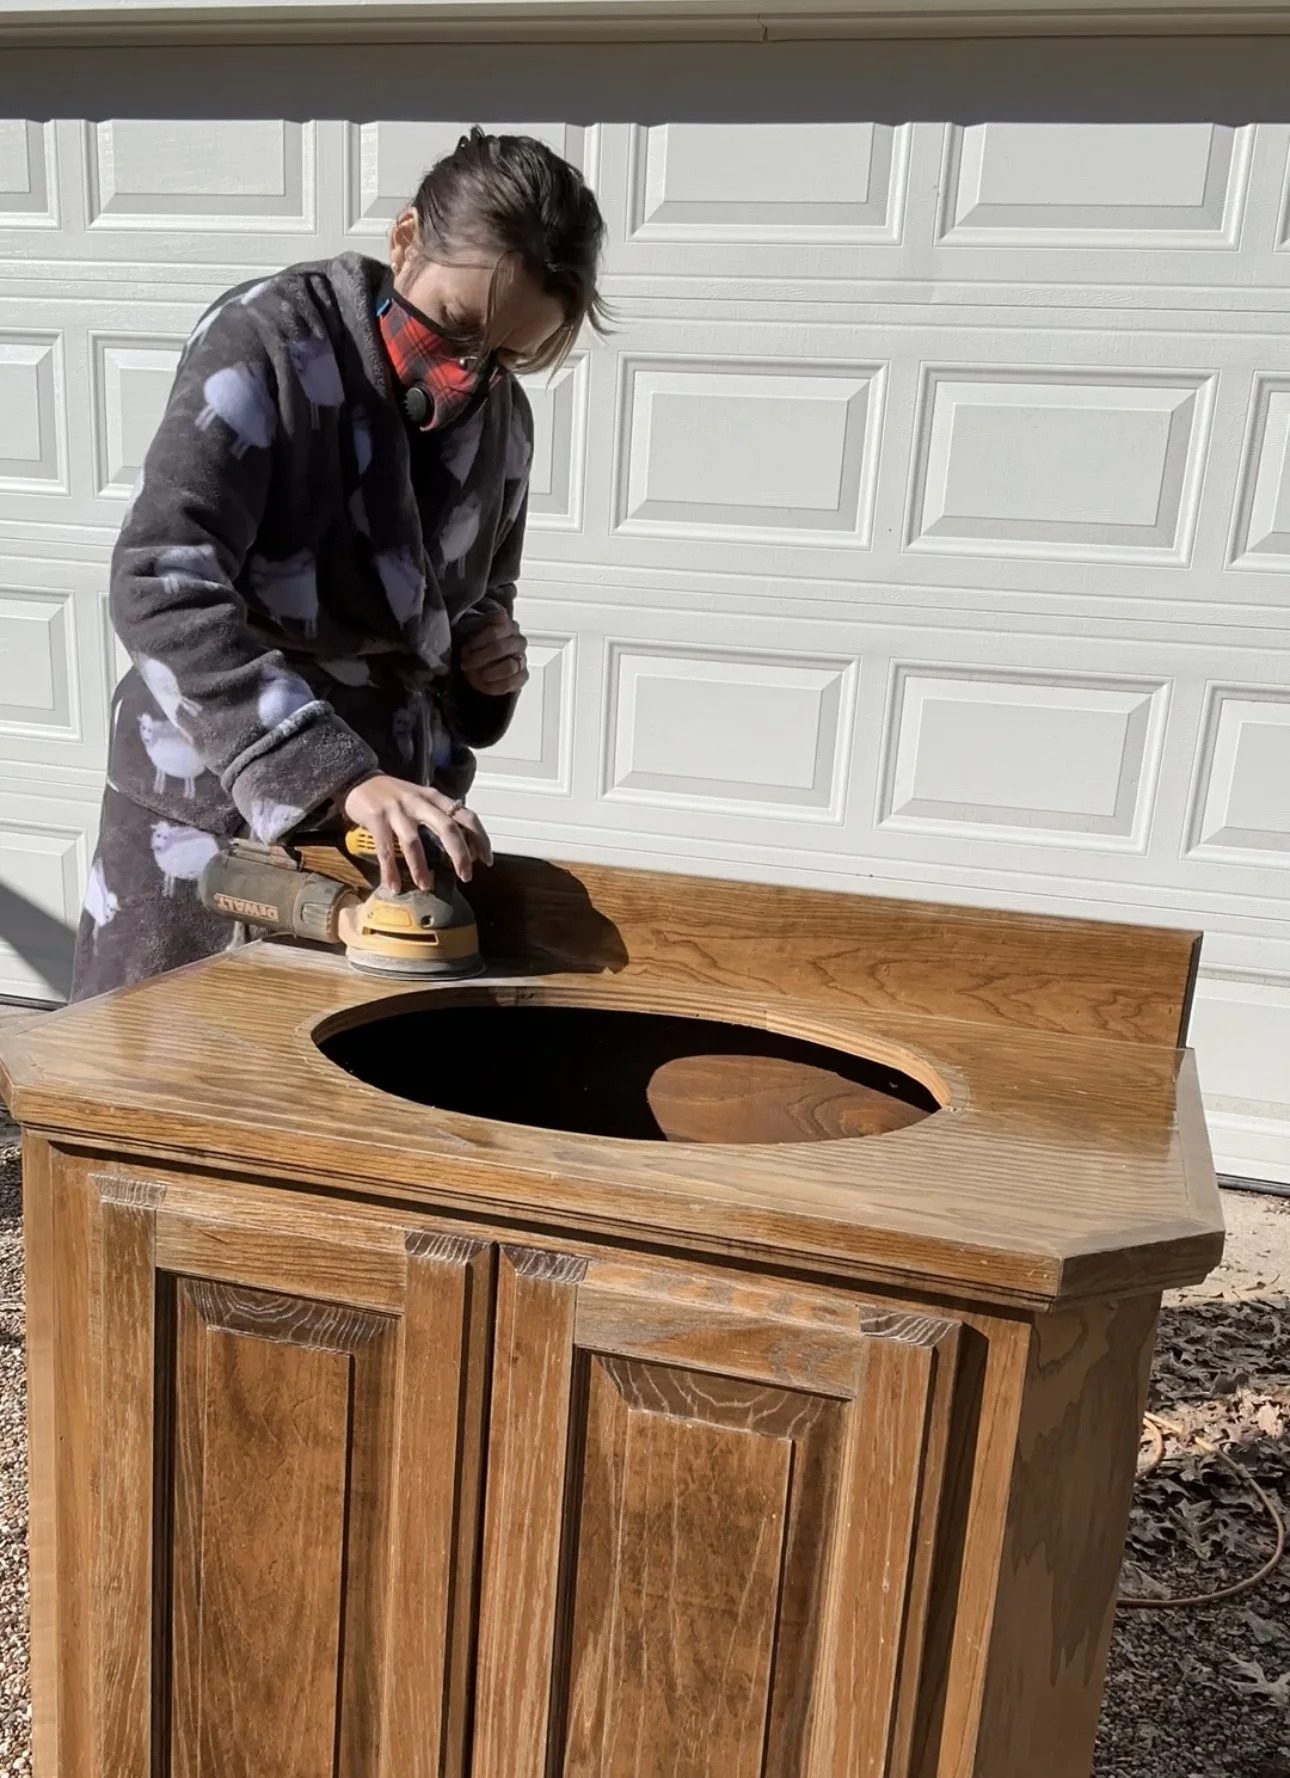
Before painting any piece of furniture, I highly recommend sanding first. It’s the only way to ensure the paint will stick to the surface. On high traffic pieces such as bathroom vanities, this is critical. Do you want the paint to start peeling off in huge chunks the second you dog bumps it? I didn’t think so. Sand, friend. I recommend using an orbital sander with 120 grit sandpaper. You can clean afterwards using a rag and Krud Kutter.
Step 3. Paint
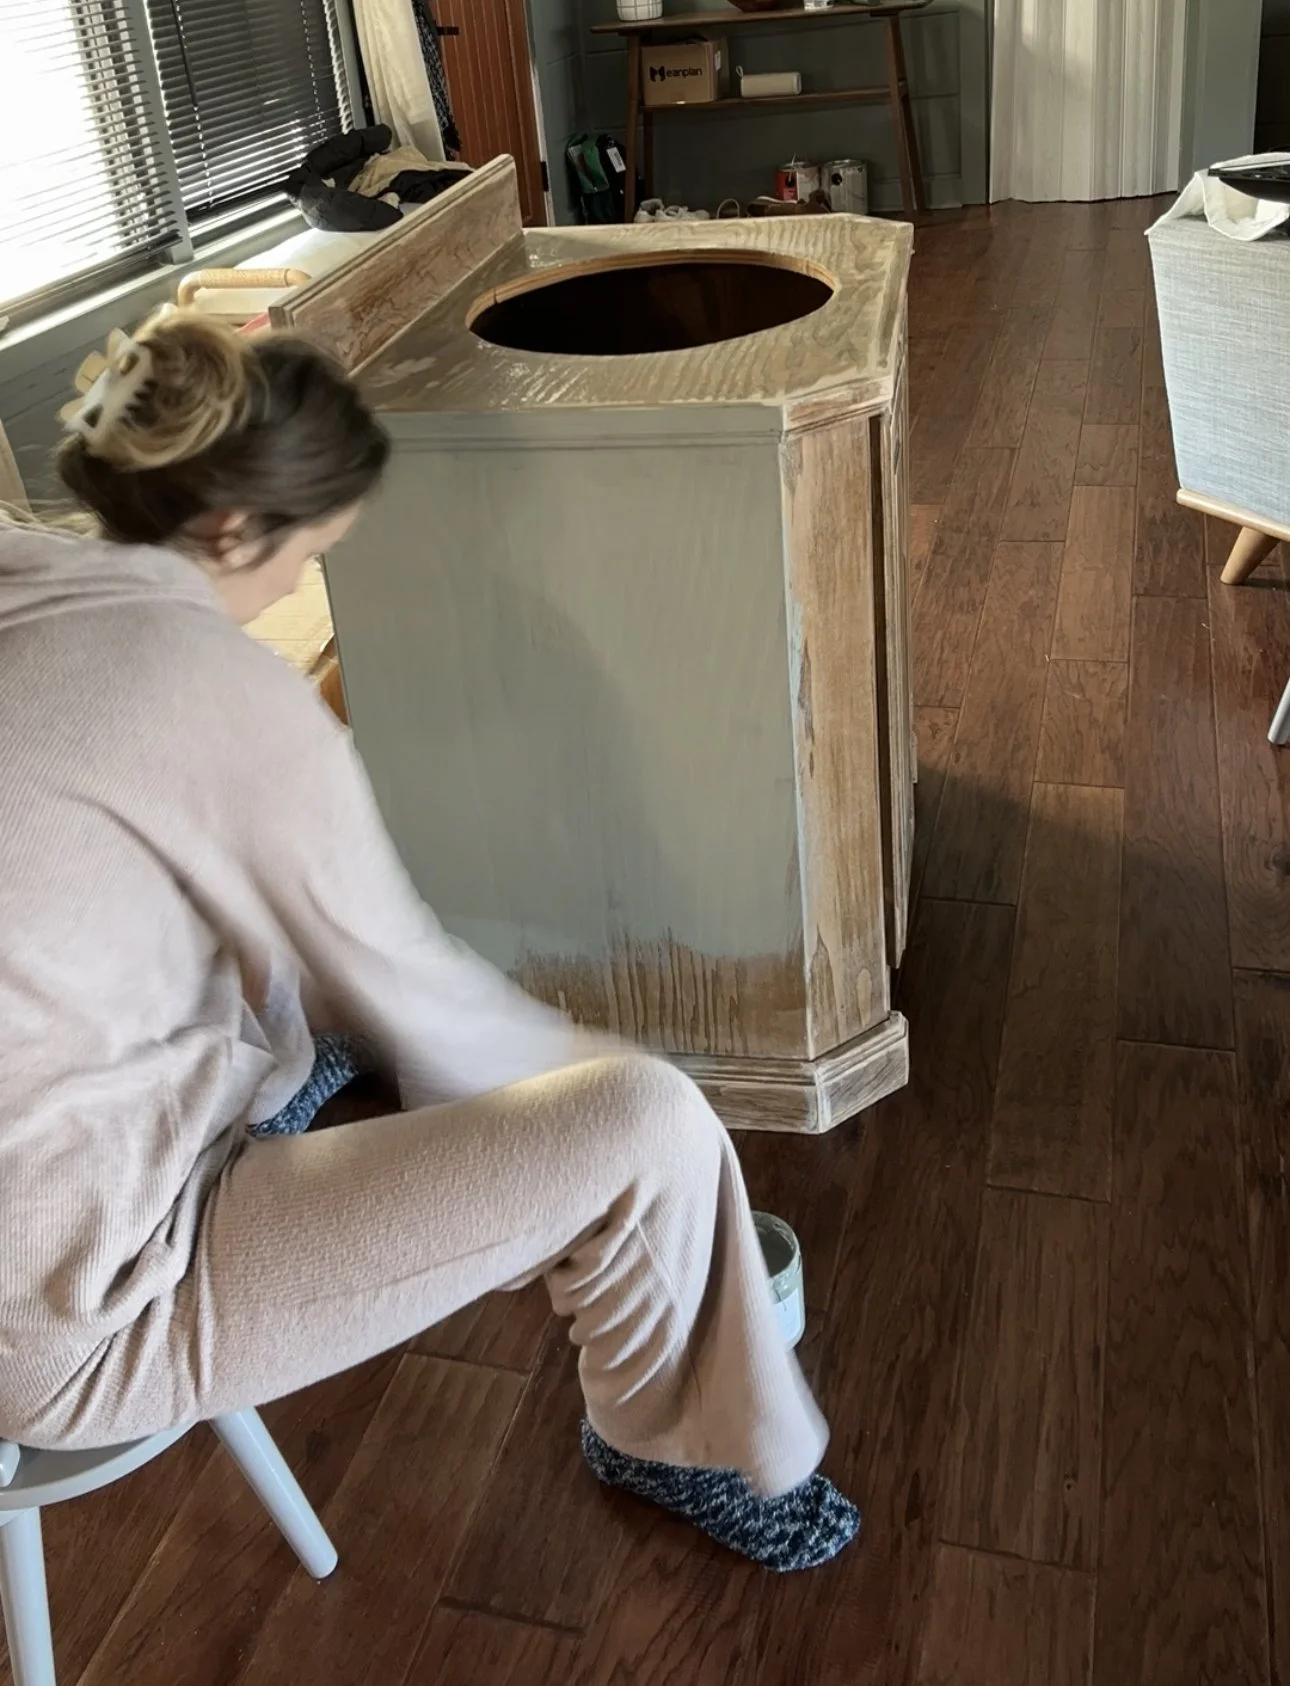
I was wanting a challenge, so I picked my paint color while blindfolded. If you’re selling, check online to see what colors are most popular in your area. I recommend going for something timeless, especially if it’s for your own home. This is an easy project, but you probably won’t want to re-do everything in 6 months when you’re wondering why a TikTok tempted you to paint your bathroom vanity bright purple.
I love Melange Paint ONE (here’s a blog on all the reasons they’re my favorite.) On this piece, I used Artemesia ONE. It has a built-in topcoat which saves me tons of time. Code MAGGIE10 saves 10% on all Melange Paint orders.
Step 4. Install marble (faux or real)
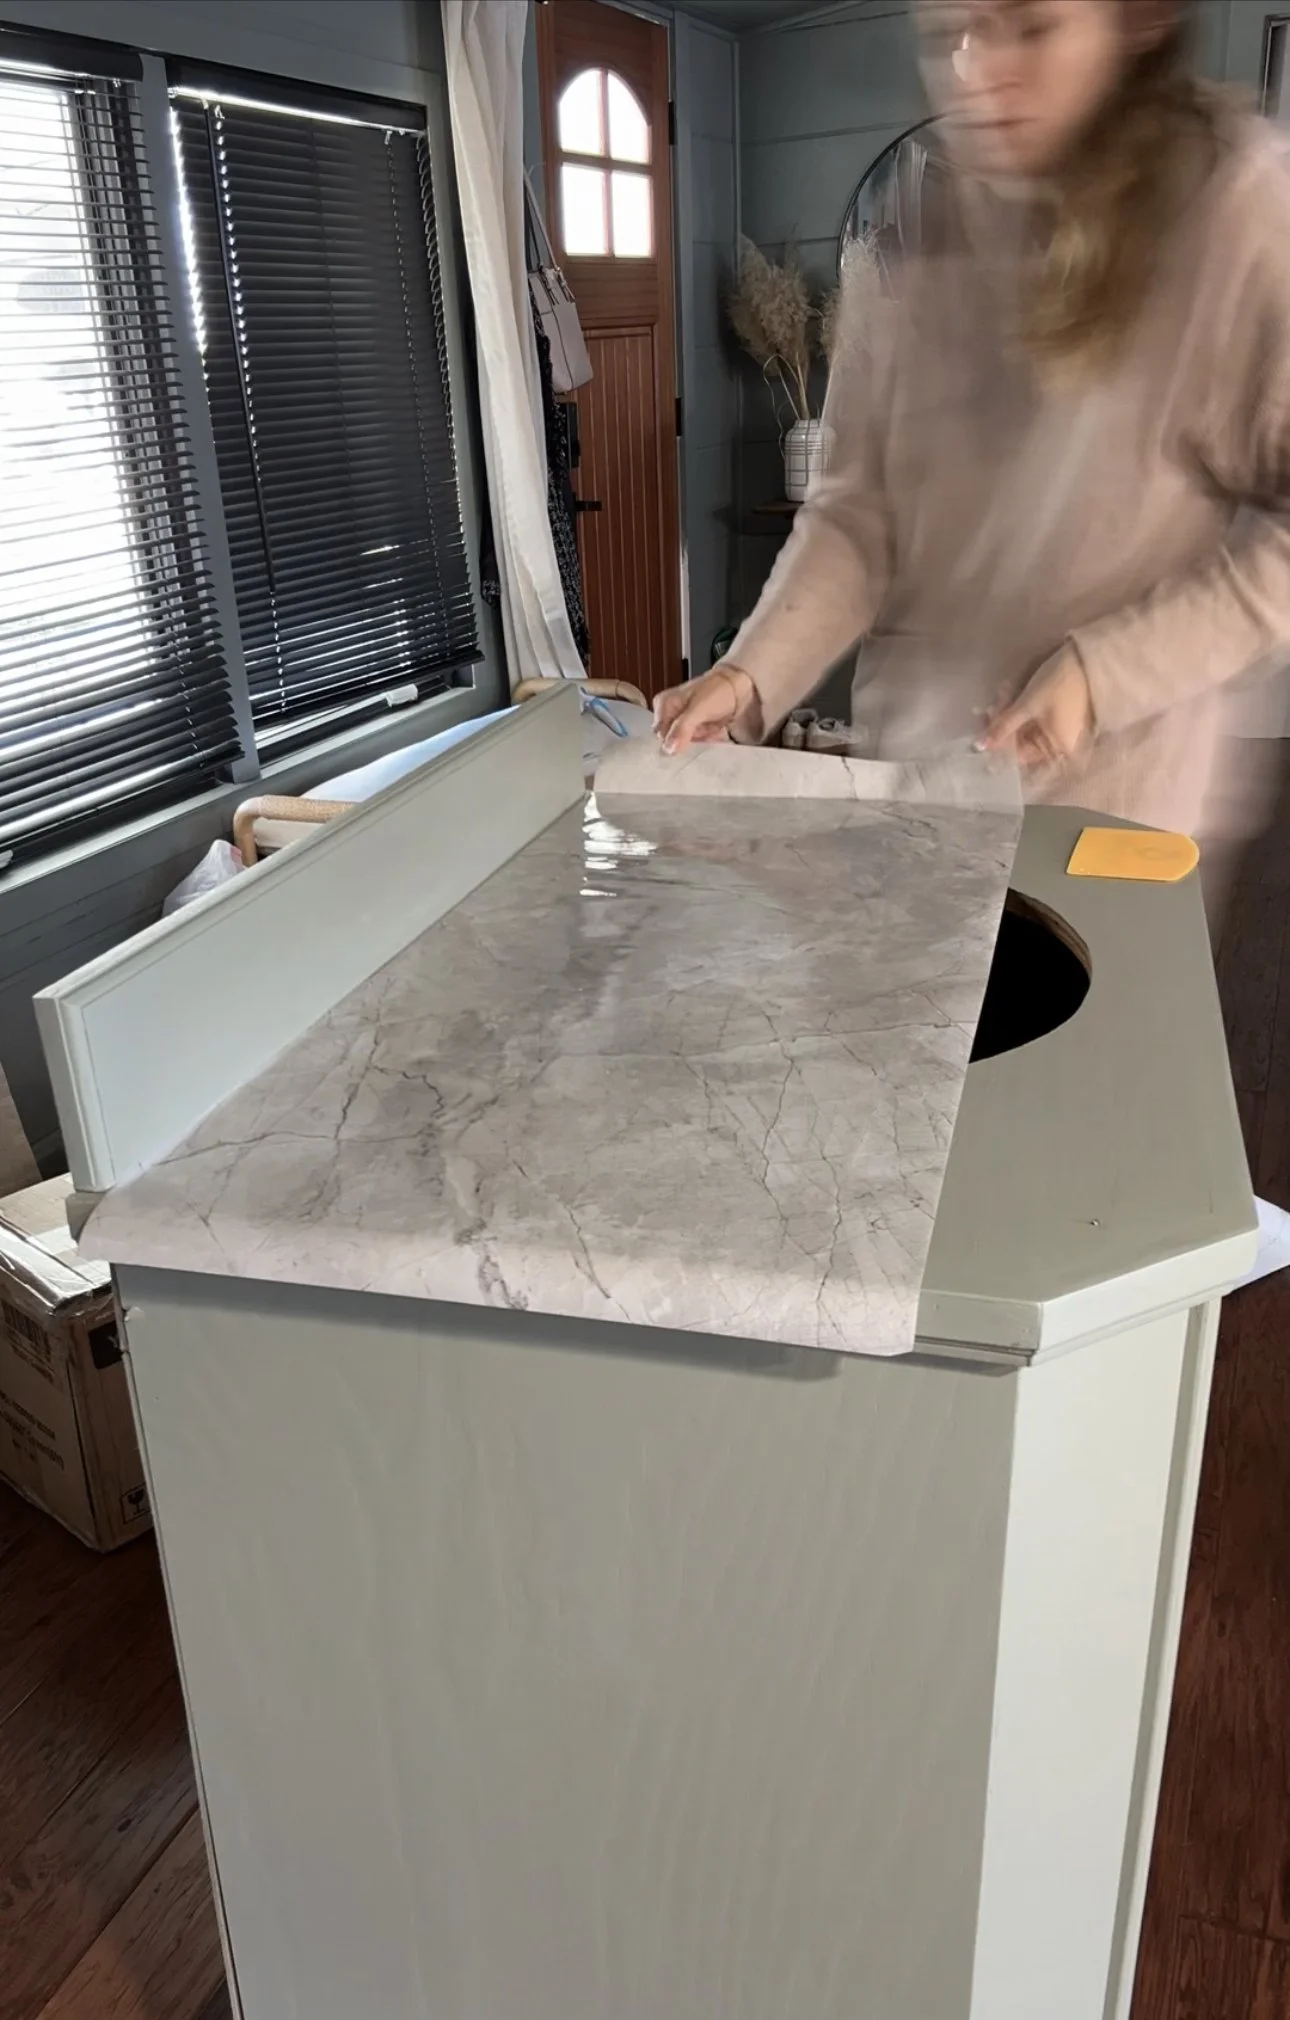
Real marble, quartz, or quartzite is very expensive. If you’re making an investment in your home— awesome. If you want to save some money, this peel and stick marble is water resistant, high quality, and extremely realistic. I had mine on in a matter of minutes.
Step 5. Caulk the edges
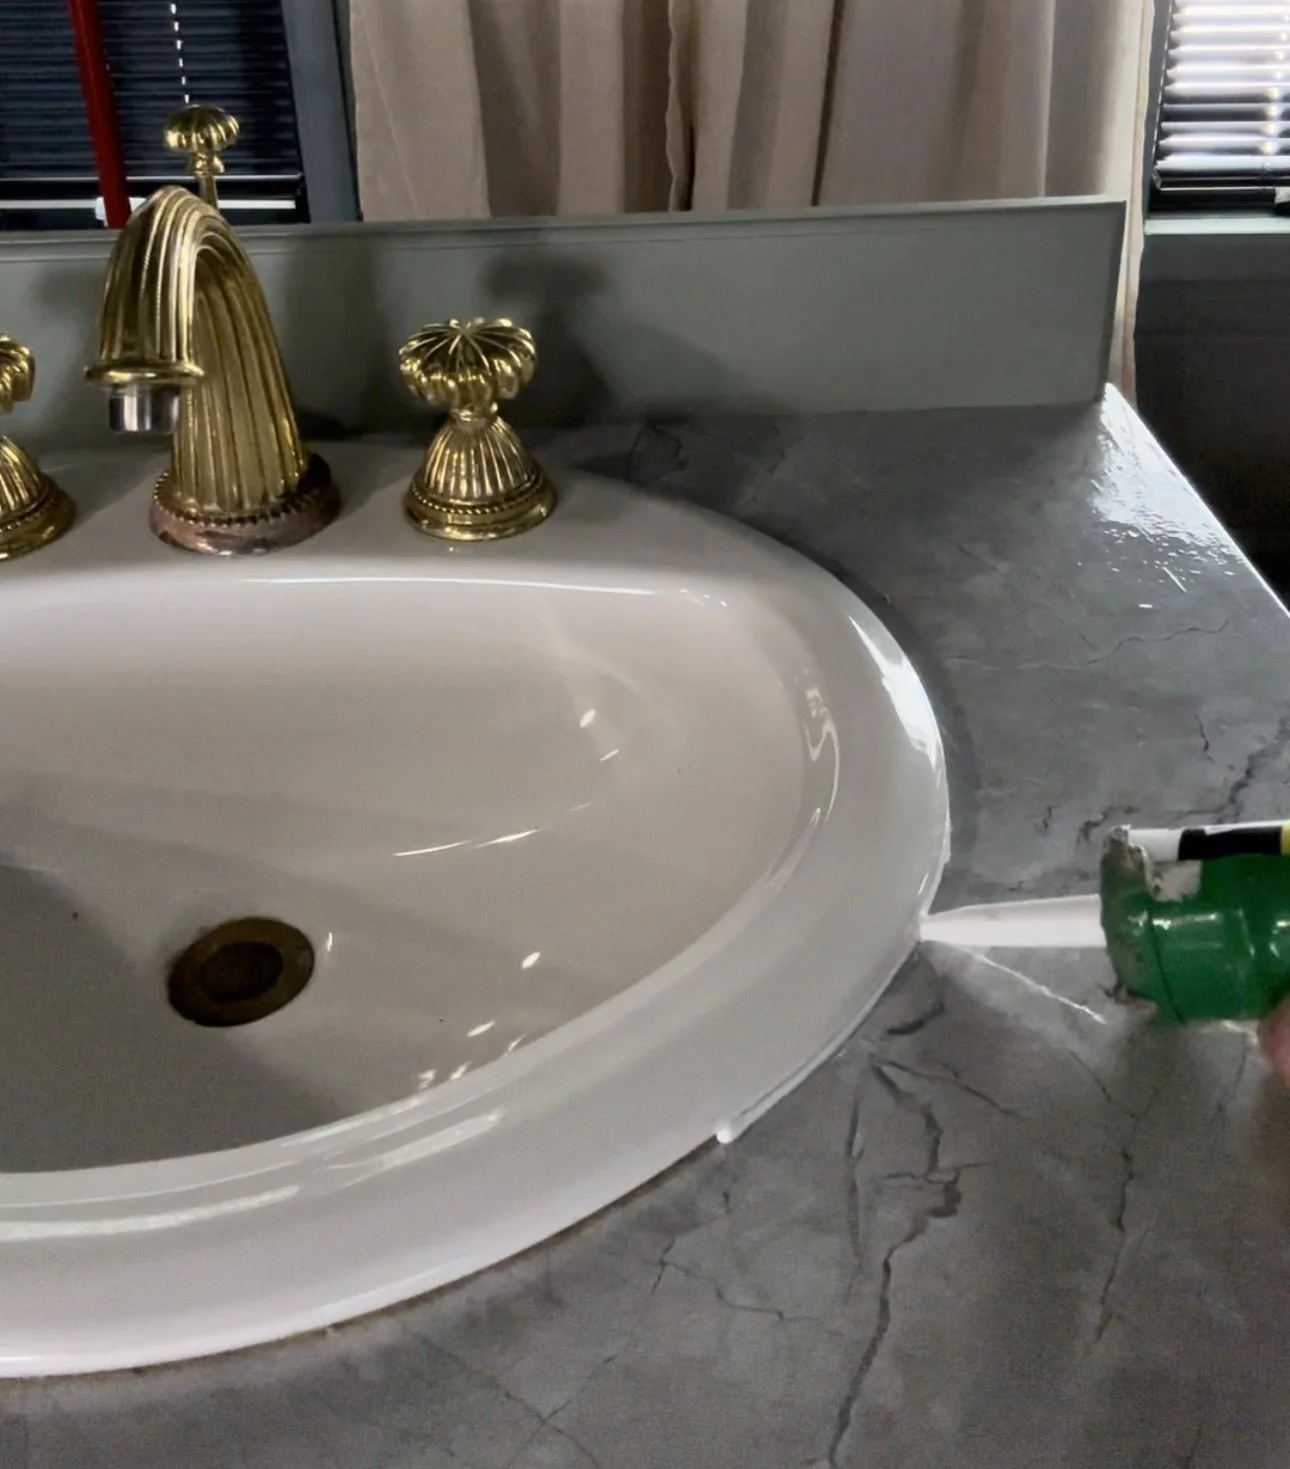
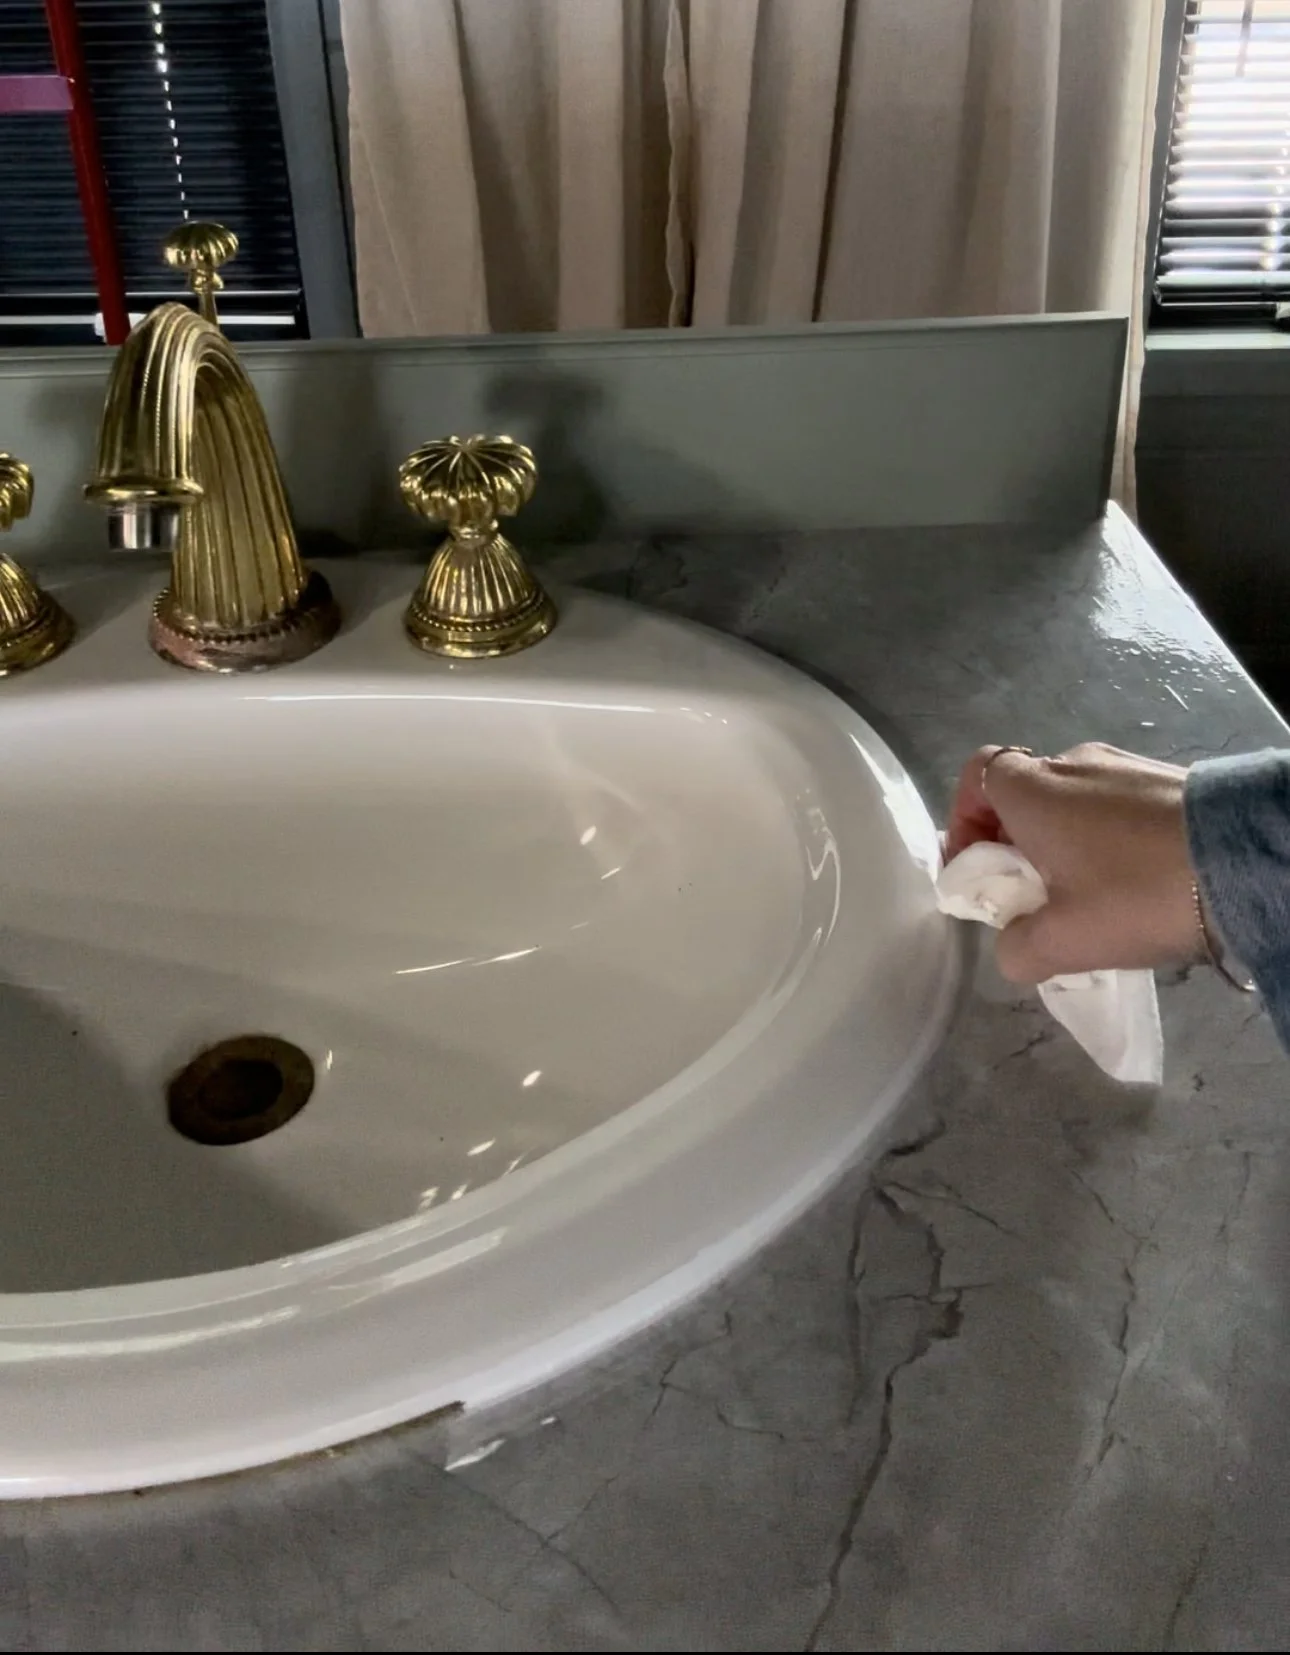
Around the edge of the sink and in between any seams of the wallpaper/marble, be sure to seal with caulk. This prevents water from damaging the vanity base, leaking into the base, or damaging your counter. Don’t worry, this is an easy and cheap step. Right after applying the caulk, wipe the excess with a baby wipe or damp paper towel for a smooth finish.
Step 6. Install new hardware
New knobs or handles will make a world of a difference. I am so glad I used these gorgeous gold handles from Amazon. They’re modern, yet have a touch of vintage to pull in my faucet.
Fortunately, my vanity included a gorgeous vintage faucet. However, updating yours may be necessary. I actually wrote a blog detailing how to change your faucet… without any confusing words or required knowledge of what the heck you’re doing.
Step 7. Enjoy!
Just like that… you’re done! Congrats— in just 6 steps, you transformed your sink and vanity. This process is fun, simple, and affordable. Not to mention it will increase your home value as you continue updating your bathroom. Completing projects like this is the best feeling in the world. I can’t wait to see what you create next!
Here’s a video quickly showing the transformation and final result. You can follow me on Instagram for more content like this. Thanks for reading!
If you’re feeling motivated to learn all of the ins and outs of flipping furniture, check out my furniture flipping eCourse. I cover how to remove smells but also help you with furniture flipping from start to finish. You can grab it while it’s on sale here!


