How to DIY A Concrete Pedestal Table (Using A Trash Can!)
This article contains affiliate links.
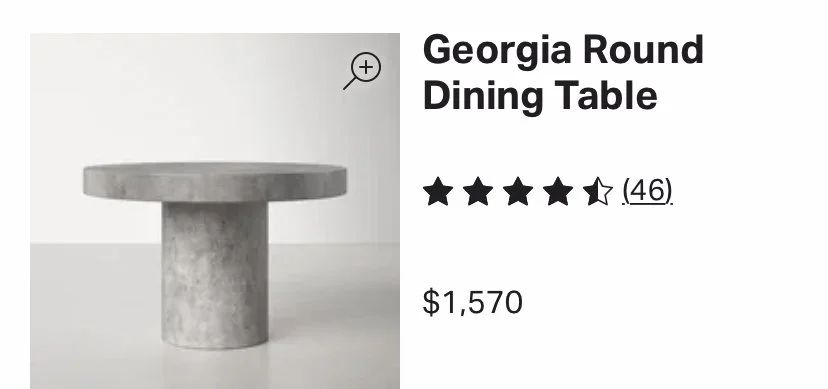
I took a thrifted Ikea table and turned it into a $1,600 dupe - all while battling a flu-like virus in my first trimester! I don’t say this to brag… if I can do this project while sick, anyone can do it! Concrete tables are SO versatile and are the perfect tables for inside or outside use. This was my inspiration:
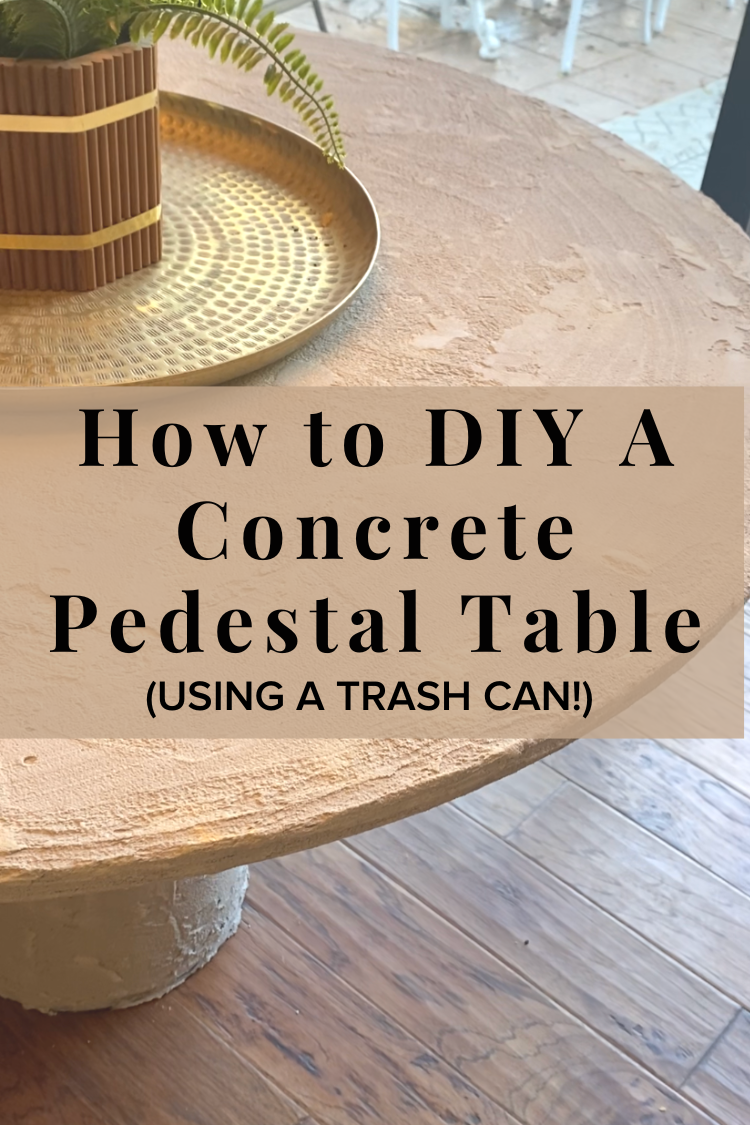
Love the look, but not the price! And here’s how mine turned out:
What you’ll need for this project:
Table (I used a tulip style!) or table top
Trash can (but anything circular that’s the right height will work)
Multi-tool
120-grit sand paper
Hot Glue
Ready-mix concrete (I used this, but looking back I wish I would have used this)
Follow the steps below for your dupe:
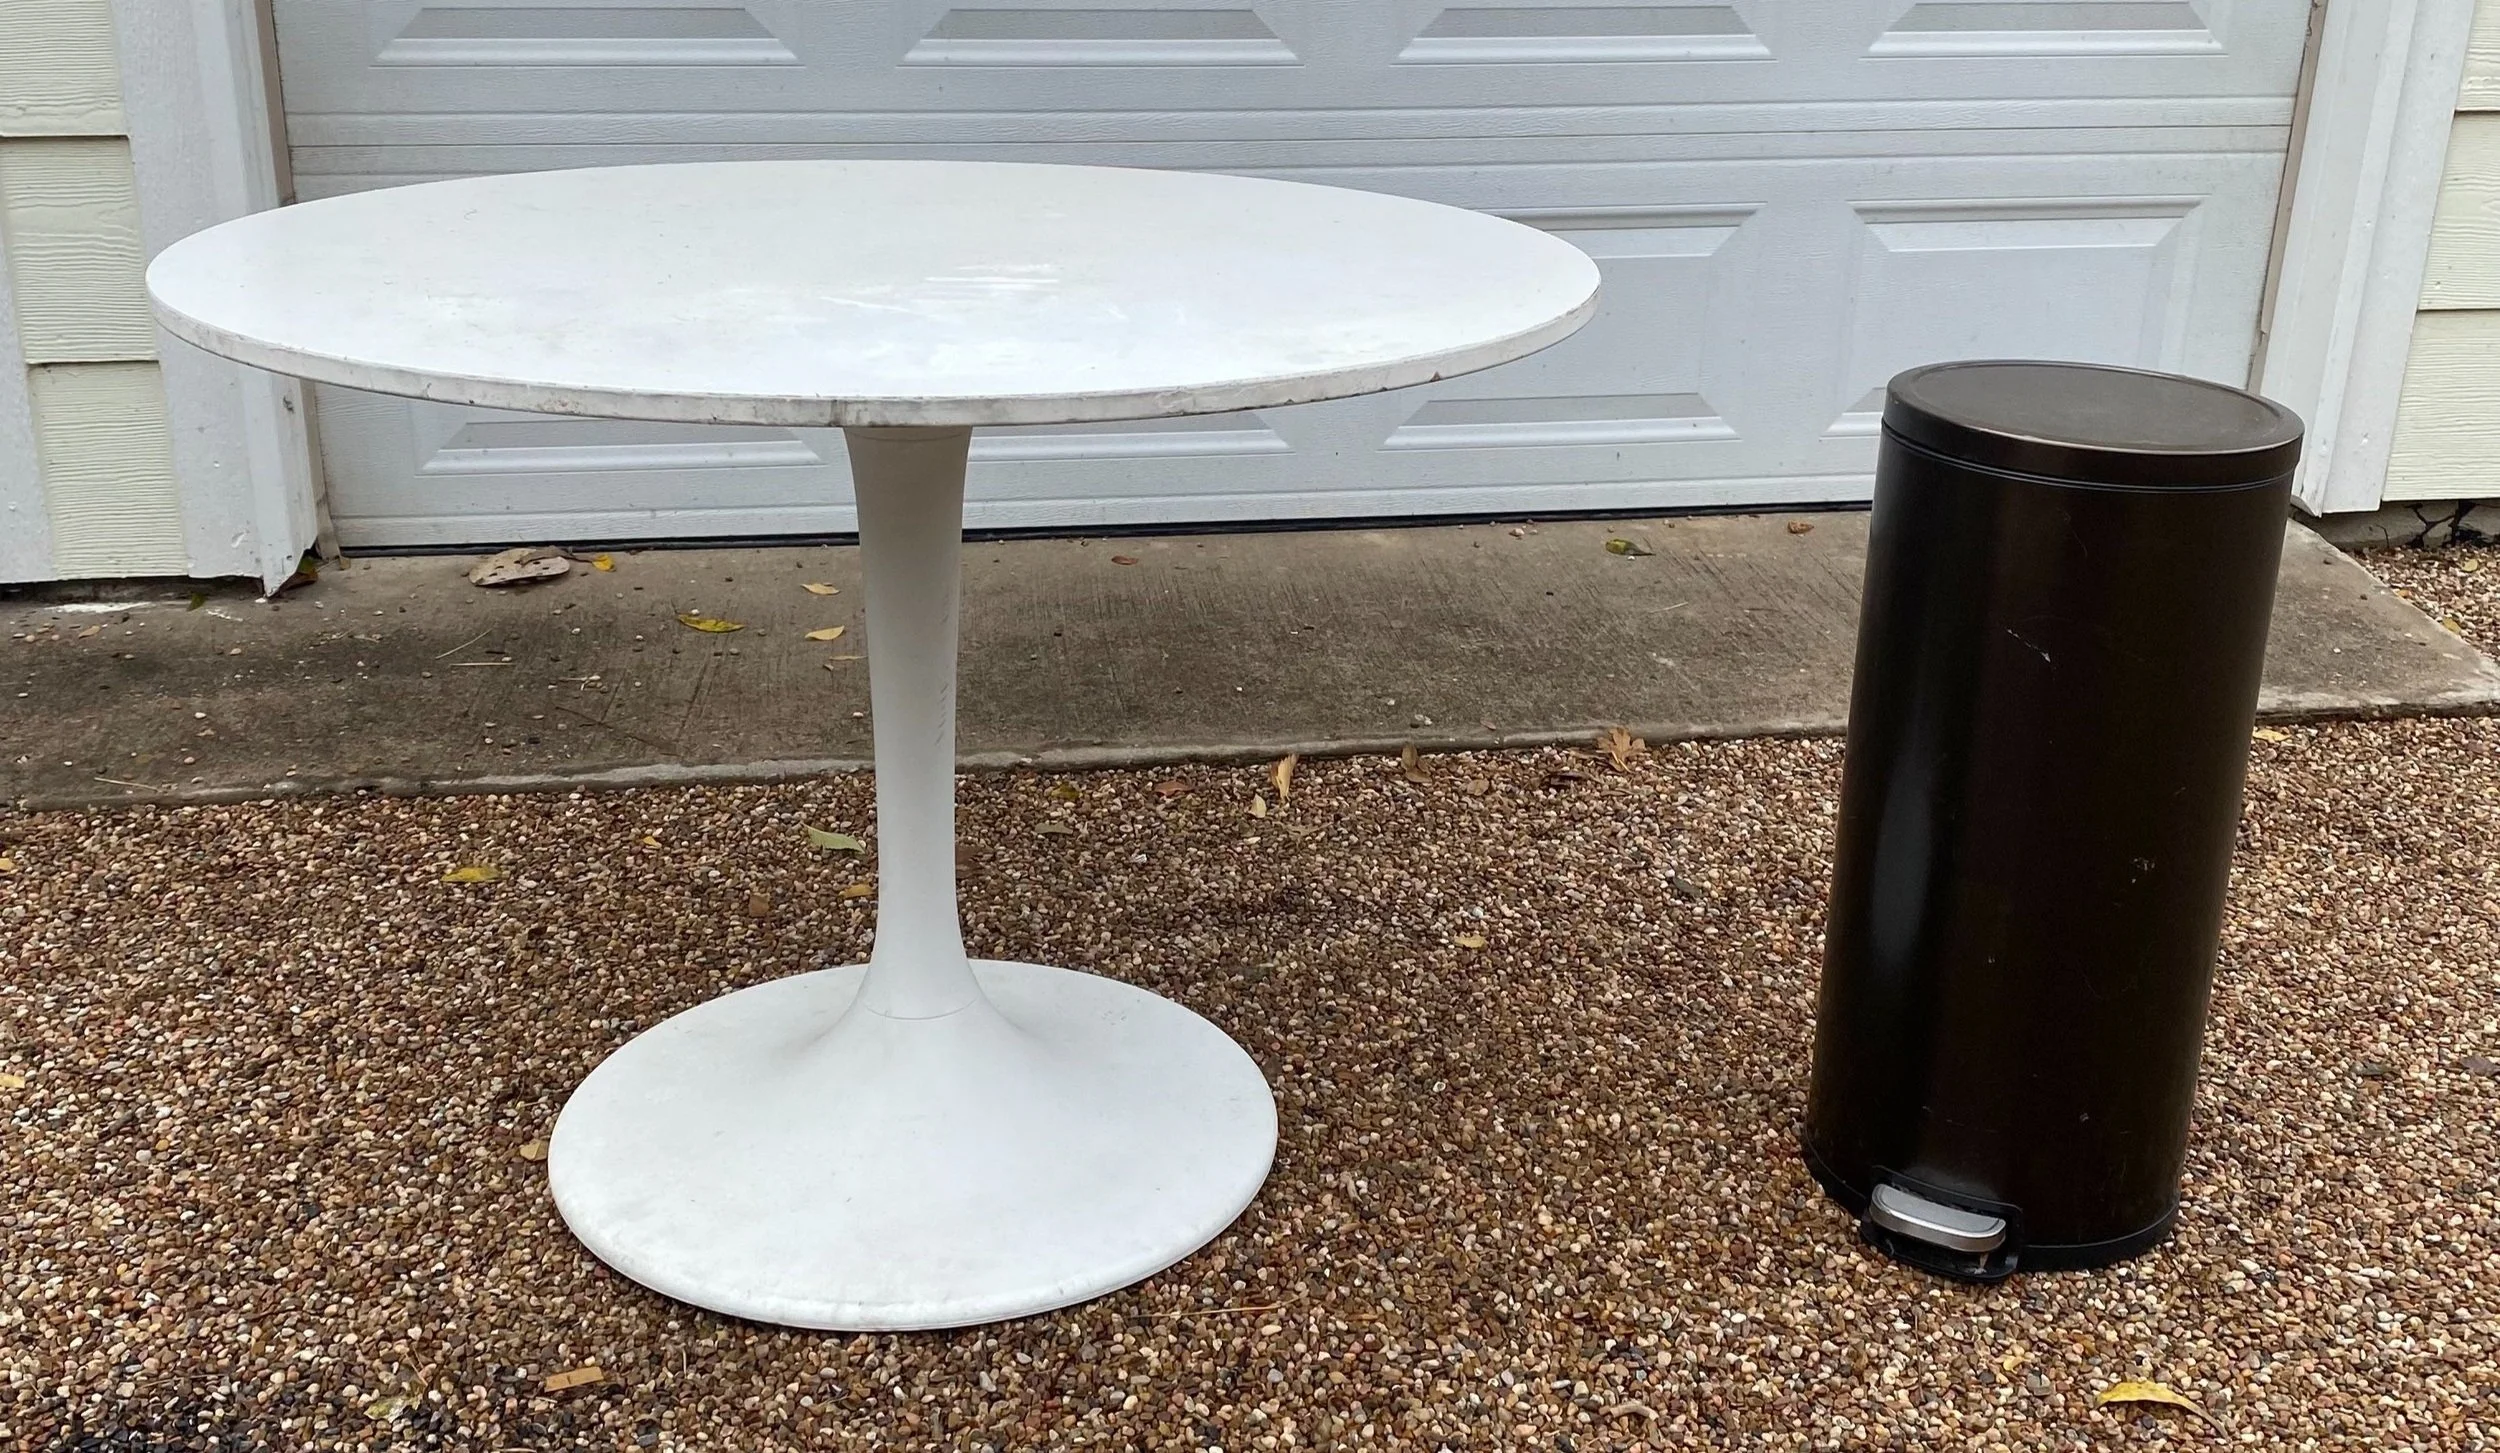
1. Find your materials. Use the list above to help you. You can either repurpose another table top or just cut your own circle! I'll be writing this blog assuming you're using my materials - an existing dining table and a trash can. This is what I started with:
2. Unscrew the top of the original table. I recommend saving the base for future projects.. You never know!
3. Prep your trash can. The only way this will work is if it's not obvious you're using a trash can. So, I used a multi-tool to cut off anything that couldn't be unscrewed. Yep, you're left with holes. Don't panic.
4. Sand everything with a 120 grit - yep, even the trash can!
5. Clean with Krud Kutter to remove any debris from sanding.
6. I used this screen repair tape to cover the holes on the trashcan and to create a better grip for the concrete. I applied the tap to the table top, the edges of the table, and on various places on the trash can. For added grip since the trash can is extra smooth, I used hot glue (mine was construction-grade which is a bonus) to make some lines on the trash can.
7. Remove the lid of the trash can and screw it onto the bottom of the table.
8. Stuff the trash can with concrete, bricks, or something else heavy to weigh it down. Then, screw the lid/table top onto the base. I would also considered using liquid nails!
8. I used this ready-mix concrete match.
You can use other types of concrete, but I liked this this one was already mixed. I used exactly three containers. Four would be your safest bet. Looking back, I should have purchased this one, because I would have saved money and had a ton leftover.
9. Start applying your concrete. They may be cheaper in stores, but you can use a smoothing tool like this one to help you. I recommend doing an entire section as quickly as possible. I had to run to the store for more containers, and by the time I got back, it was impossible to make the new coat look consistent with the first coat. From my experience, it takes about 10 minutes before it starts to dry and 2ish hours to be pretty hard. Of course, it can take days/weeks to fully cure.
10. You can sand to smooth it out. Because it's concrete, it will wear down your sanding paper very quickly. You may want to actually start with a higher grit. But, the goal is to make it as smooth as possible with your smoothing tool (BEFORE it dries).. A mistake I made!
11. Don't forget to seal with a concrete sealant. Otherwise, the table will be easy to stain, even with water. This one will work if you plan to use the table inside or outside!
12. Enjoy your table!


